Getting Started - Tracked Security Groups
A Tracked Security Group (TSG) is when Cloud Glance syncs/updates your current public IP address to the Security Group Rules of a Security Group you specify. Cloud Glance then automatically updates the Security Group Rules to match your IP, even when if it changes.
This can be used as an alternative to a bastion host if your resources are in a public subnet.
This section will show you how to create your first Tracked Security Group.
Prerequisite
Part 1 of the getting started guide: 1. Installation & Settings must have been completed before continuing.
Step 1: Create a TSG
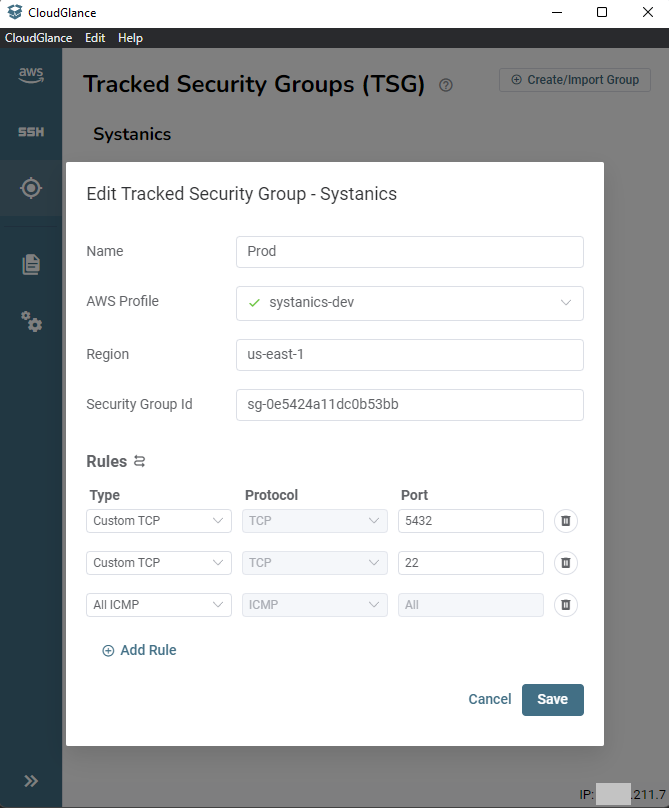
Go to the Tracked Security Group section using the left-hand menu and then click on Create Tracked Security Group under one of your groups. Then give the TSG a Name, select the AWS Profile and fill in the Security Group Id as well as the Region of that security group.
Now add rules similar to how you would have added them to a normal SG. Here we are adding 3 rules, two TCP rules for ports 5432 and 22 as well as a rule to allow all ICMP traffic.
Step 2: Toggle the TSG to be tracked
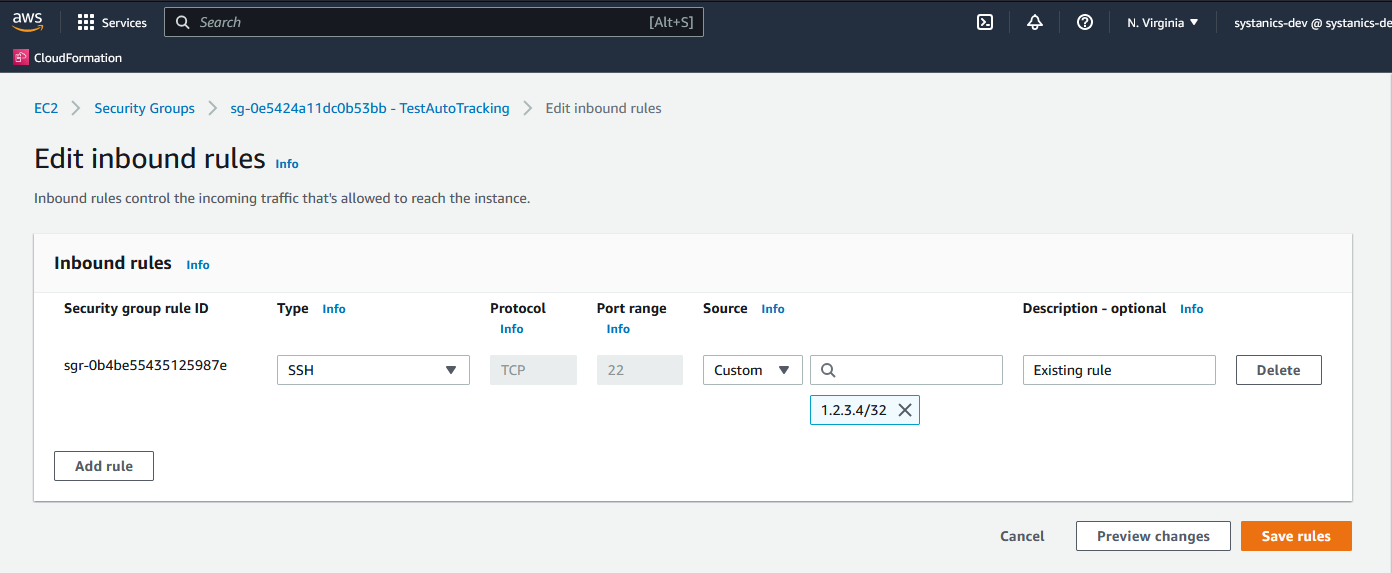
Now go to the AWS console and observe the rules of your security group.
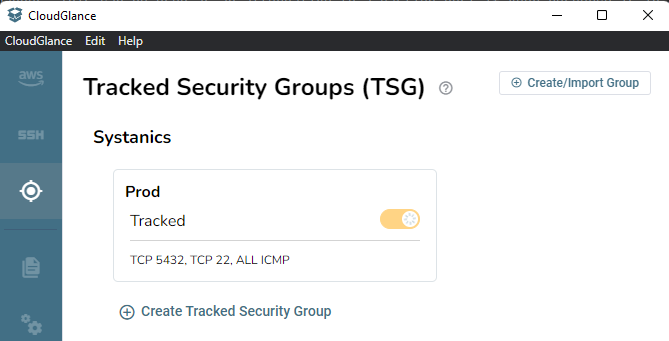
Click on the switch of the TSG to start the tracking (orange).
The next state is synced (green).
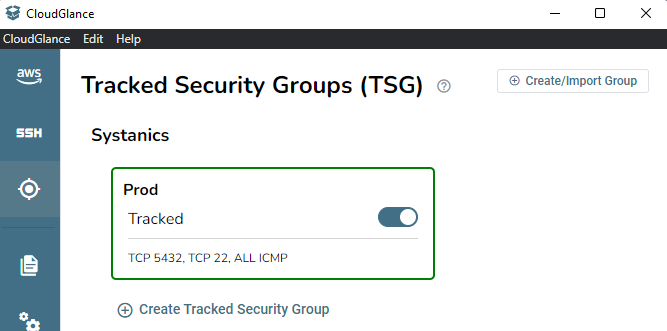
This indicates that it created the rules you specified on the Cloud Glance TSG in the AWS SG with your IP address. We can verify this by looking at the AWS console again.
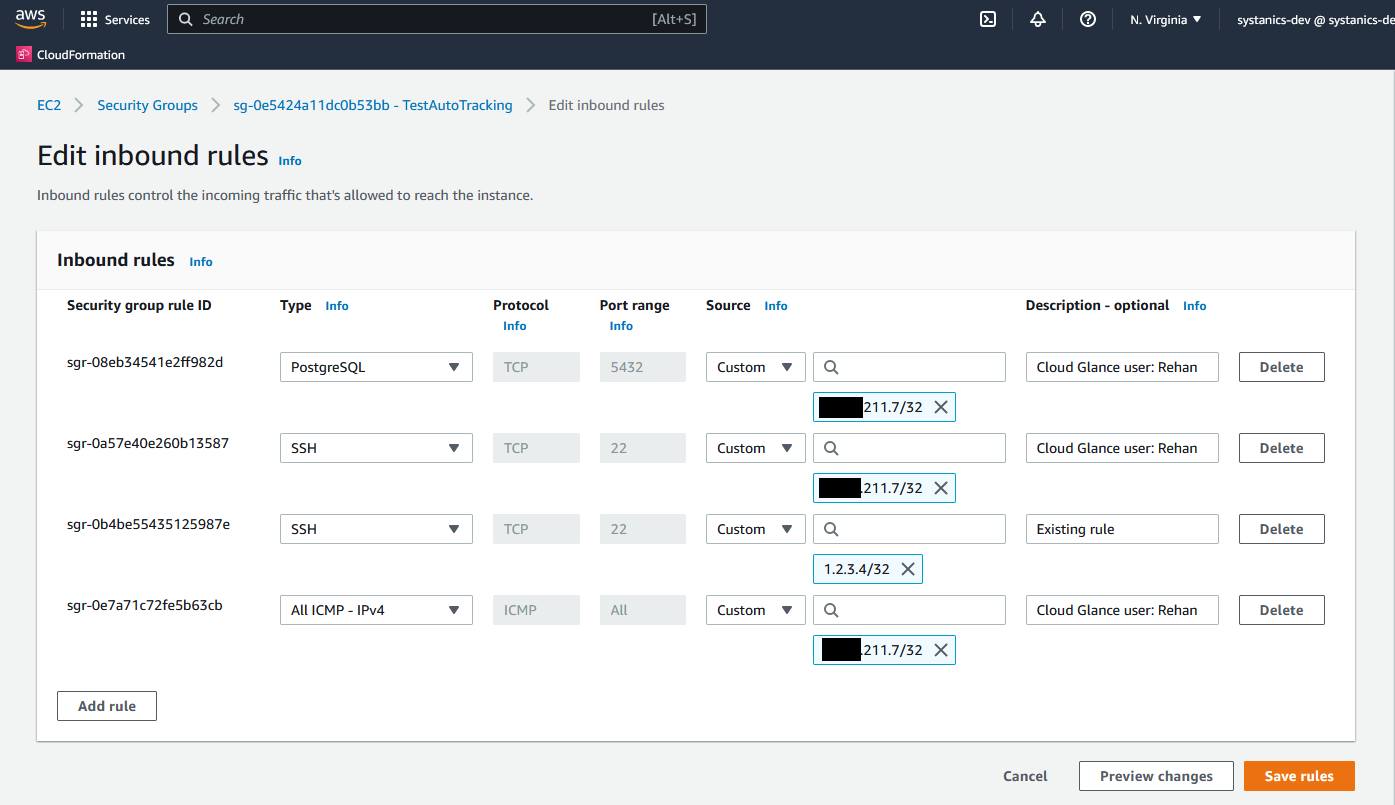
Step 3: Verify tracking
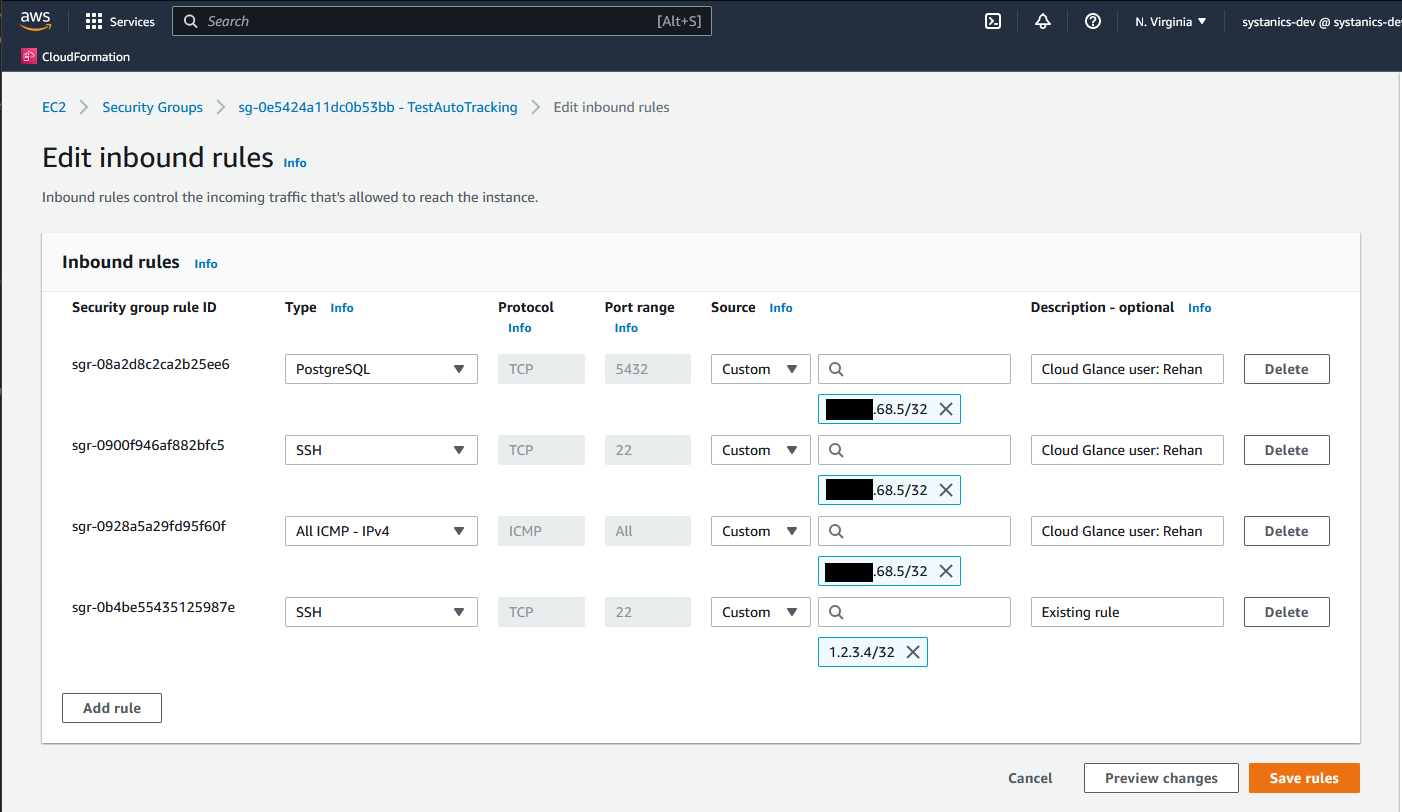
Now change your public IP by going on to a mobile hotspot or any secondary internet provider connection. Within 10 seconds the TSG will go back to the tracking state (orange) and then back to the synced state (green).
Verify that the SG rules on the AWS console has your new IP address.Your current public IP address is indicated in the bottom right corner of the Tracked Security Group screen for convenience.
What's next?
The next part will show you how to create your configurations and share these with your team using the built-in GIT functionality.